Creating a Growing Family Tree
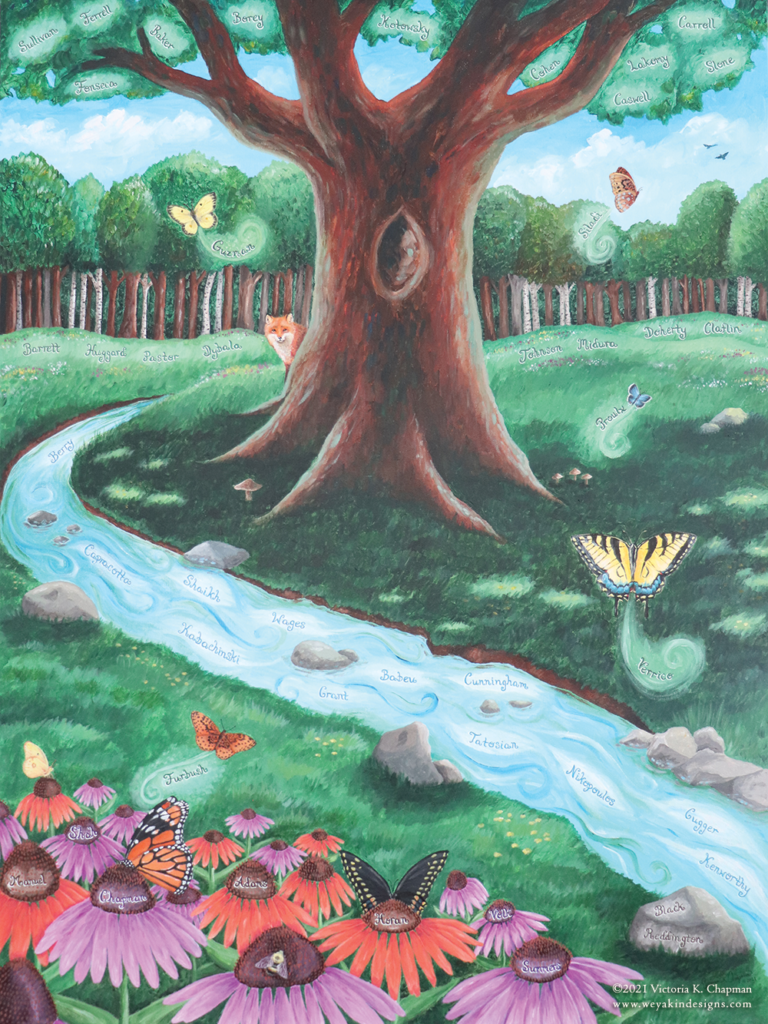
Working with a local childcare center to create a painting of thanks.
In early March, 2020, Growing Room Child Development Center of Berlin, MA had to temporarily shut its doors for an unknown amount of time due to the COVID-19 pandemic as schools everywhere were forced to do. They were wondering how they would manage to keep their doors open, support their teachers and staff, and when they might ever open again. Through this time, some families stayed on board paying partial tuition to help keep the school from closing its door permanently. Early this year in 2021, they chose to honor those families by commissioning a painting to thank them for their support through the crisis.
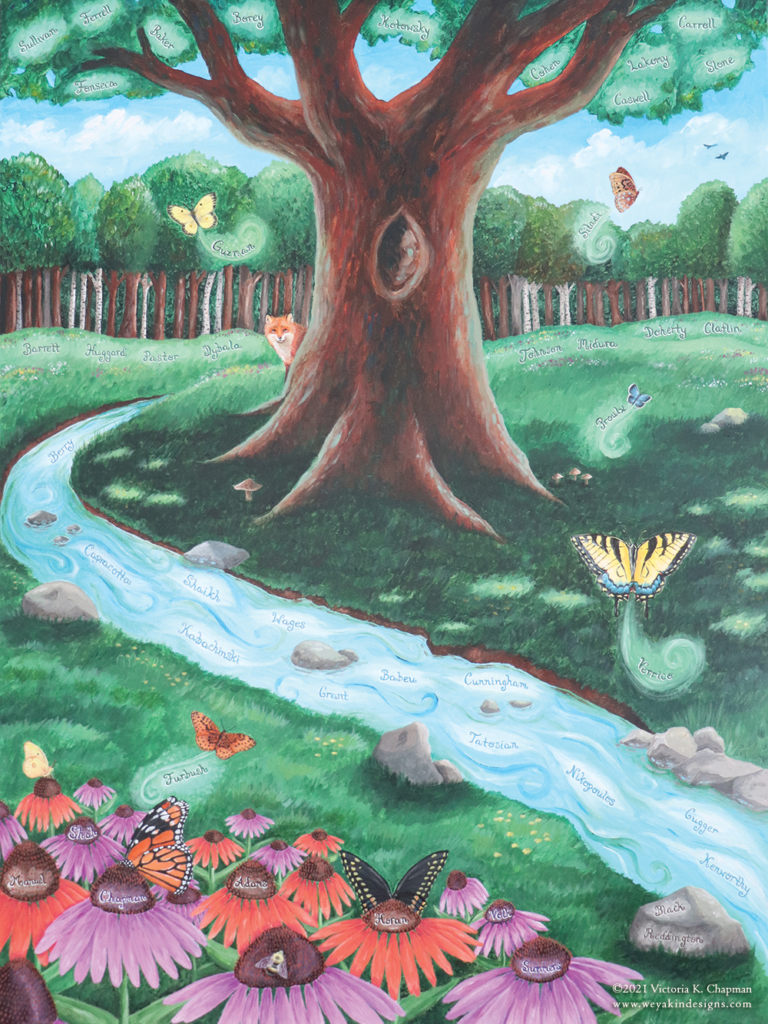
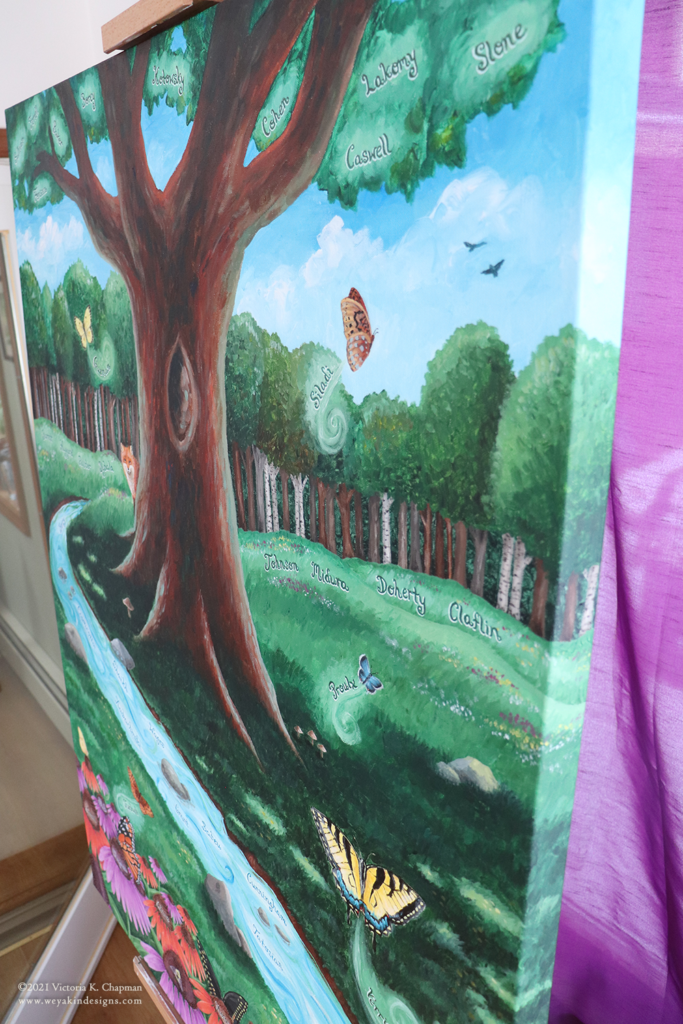
I feel so lucky that I had the opportunity to create this painting for this wonderful local learning center. When they mentioned a tree, butterflies, and flowers, it was almost an instant “yes”! Growing Room reached out to me because we have been one of the families to have a child as part of their school. They were excited to hire one of their parents to be the artist for the special piece for their parent room.
The key pieces to this painting were:
- a large tree to be a center piece
- colorful butterflies and flowers
- large enough to take up a good amount of space on a wall, but not a mural
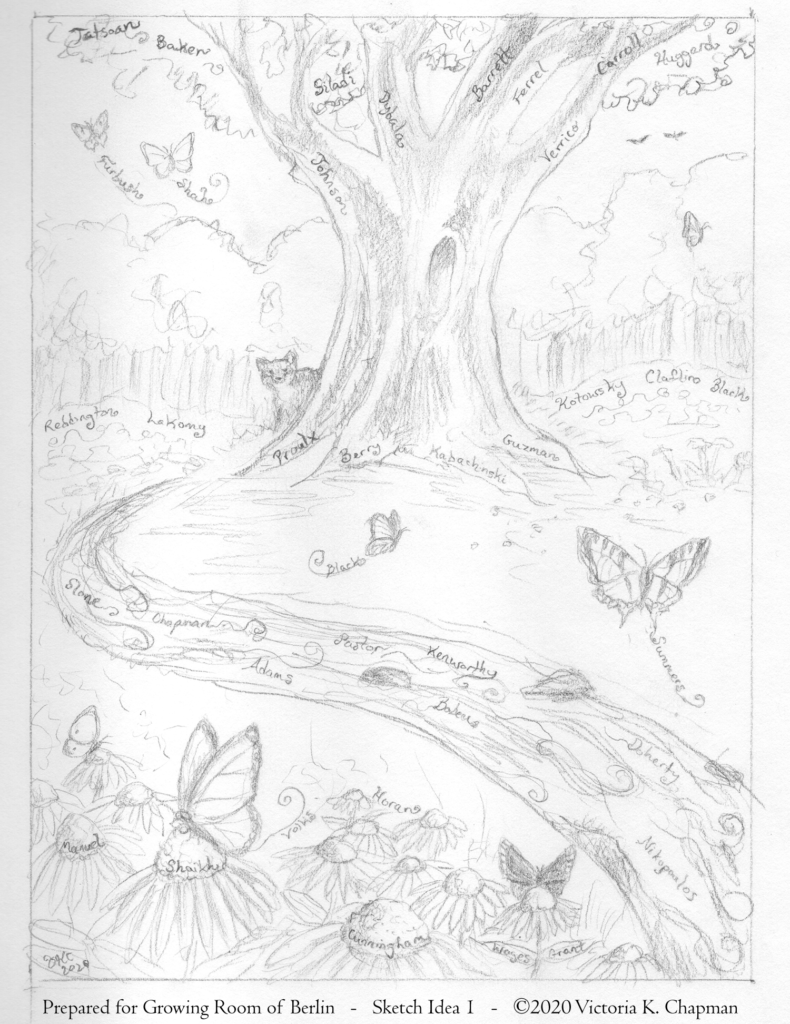
- and it should include the 45 names of families who supported them
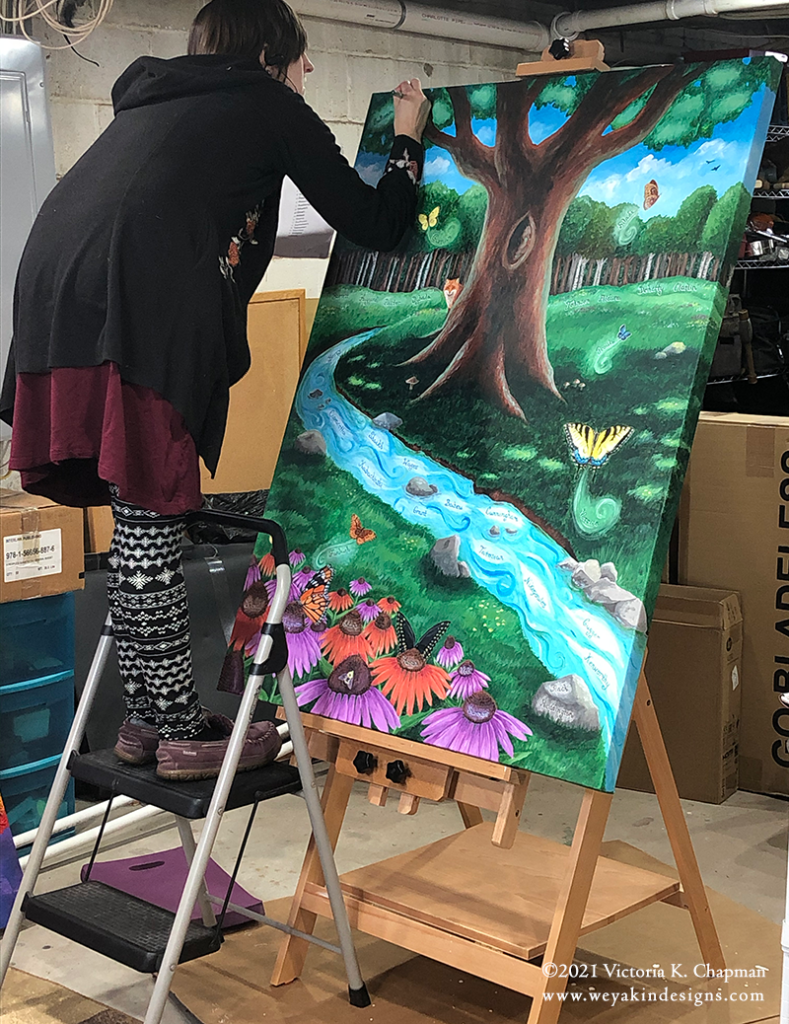
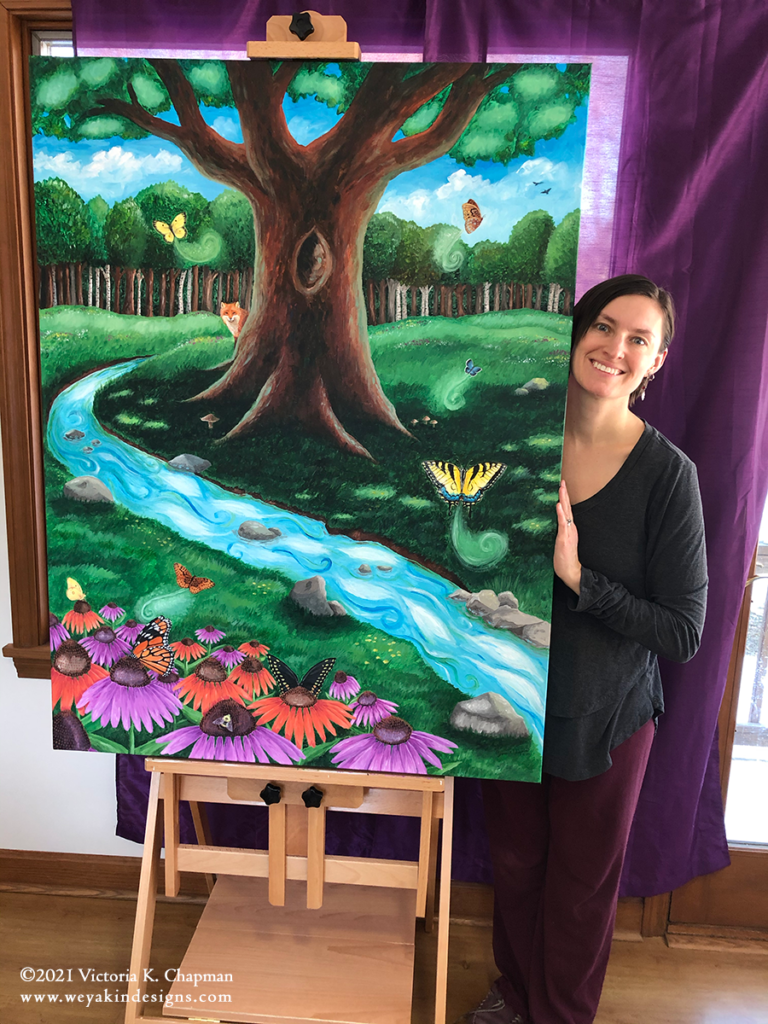
The painting ended up being 36”x48”, which is much larger than I typically work. Because of this, I chose to stray from my typical watercolor mixed media and go with something more suited to large canvases. I chose acrylic paint as the main medium, but used various pens to assist in small details and to add the names. Pens give a smoother look for typography, especially at smaller sizes.
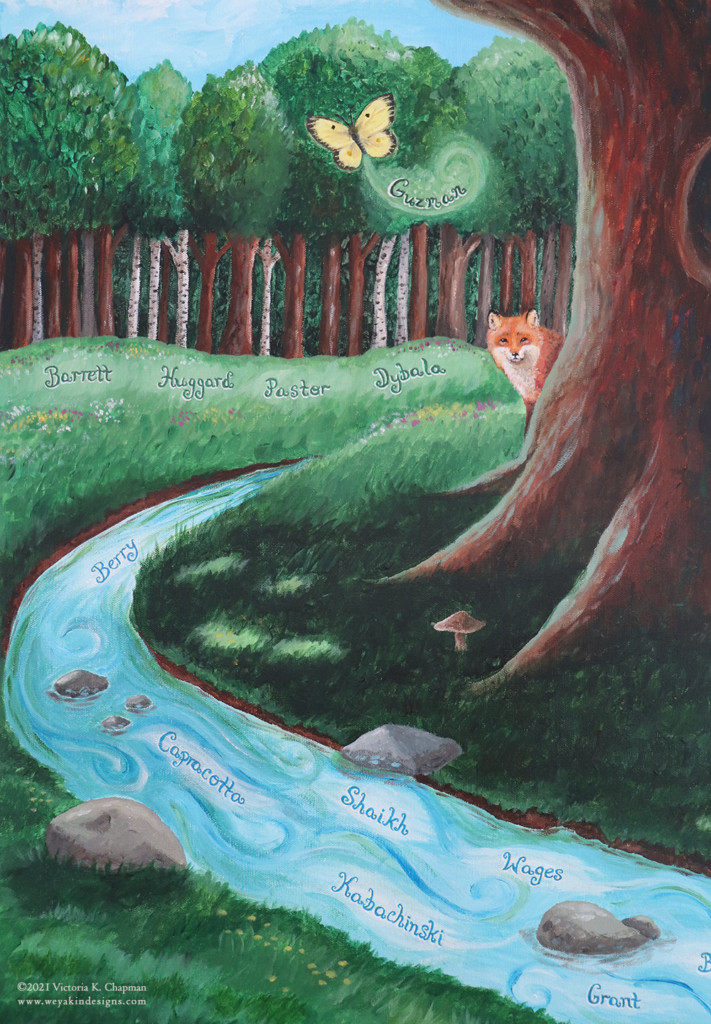
The initial first steps included brainstorming ideas and then sharing of sketches. I presented my friends at Growing Room with three initial sketches, all similar in concept but with some key differences. They ultimately chose sketch #1, which featured a flowing stream and a fox peaking out from behind the tree. I love this phase of the process because I get to explore ideas and come up with creative solutions. The creative thinking piece of art is one of the parts that I enjoy most.
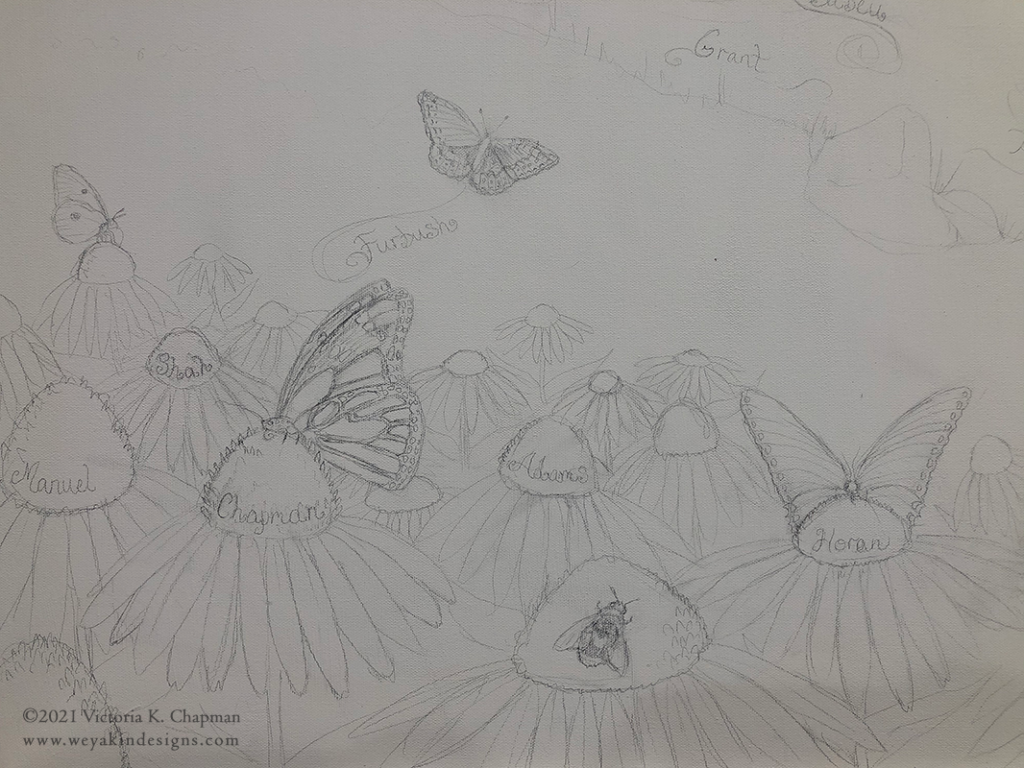
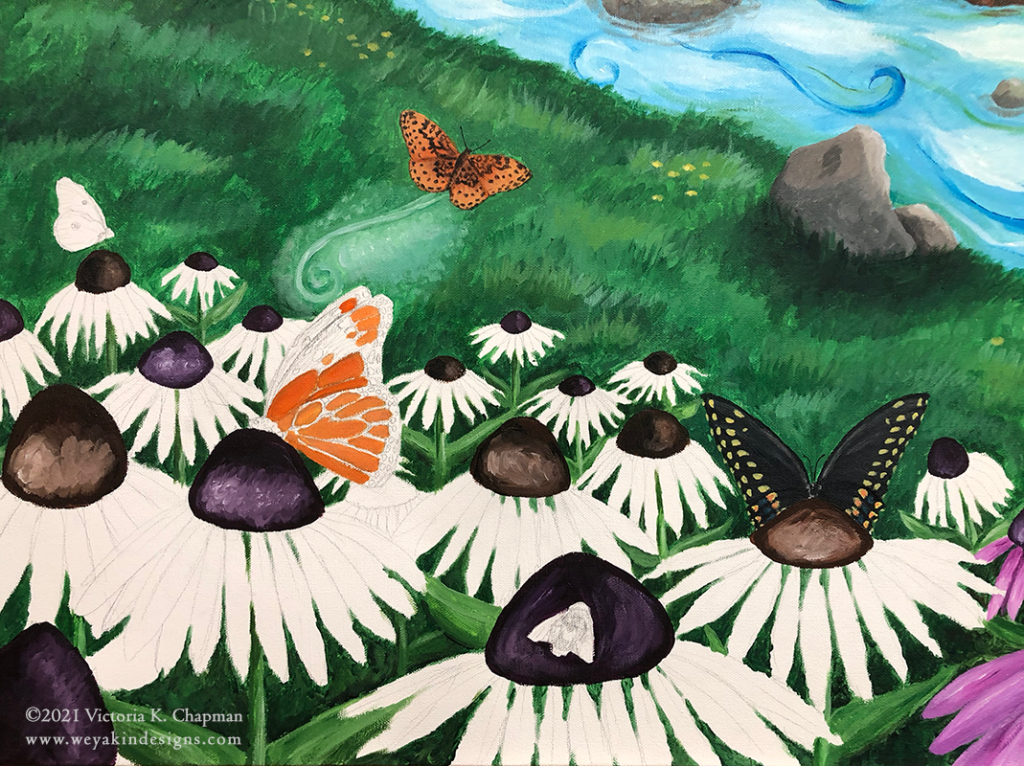
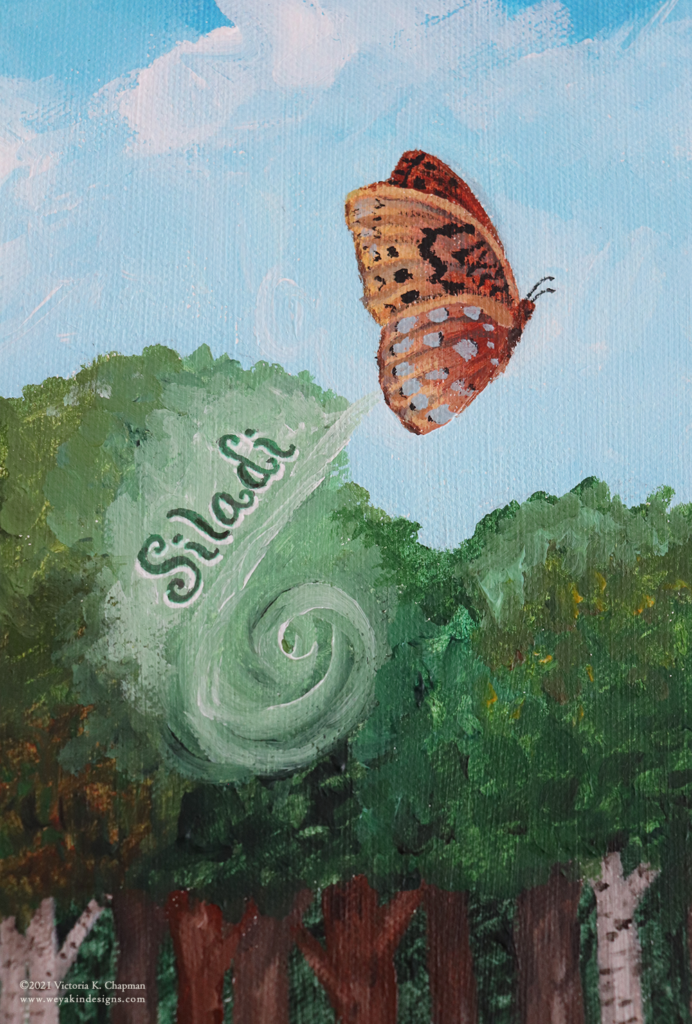
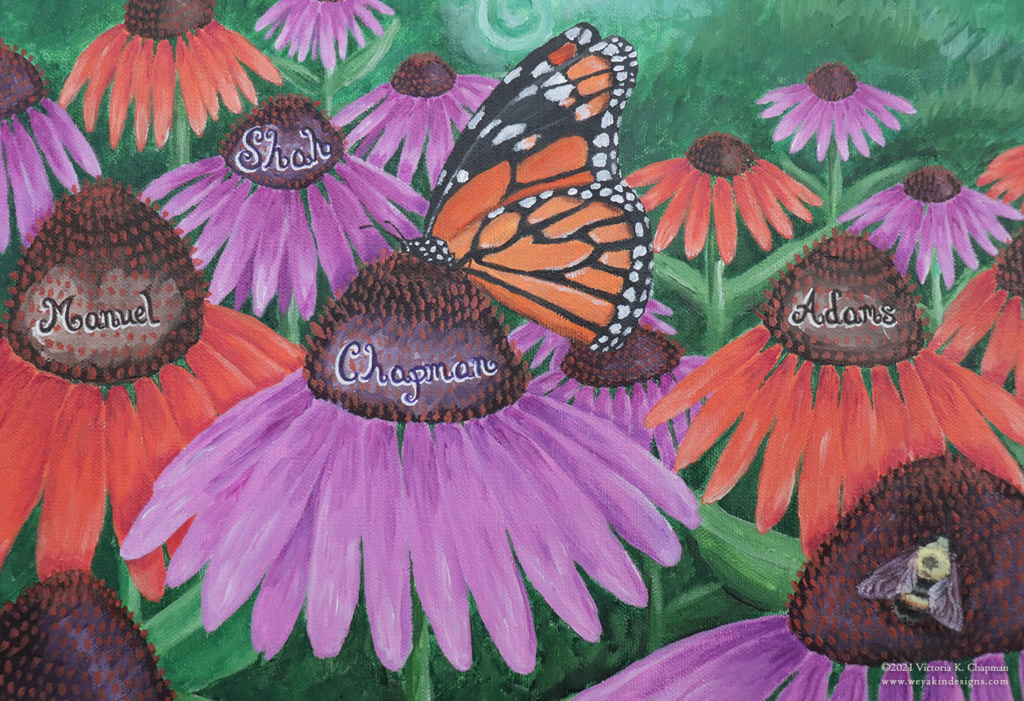
I also took some time to research local and native butterflies and flowers. I chose six species of butterflies native to New England to feature in the painting: monarch, black swallowtail, tiger swallowtail, meadow fritillary, clouded sulfur, and the eastern tailed blue. For the flowers, I chose a native pollinator favorite—cone flowers. Also known as echinacea, the cone flowers come in both purple and orange varieties. To continue the celebration of native pollinators, I added one more pollinator friend—the common bumblebee.
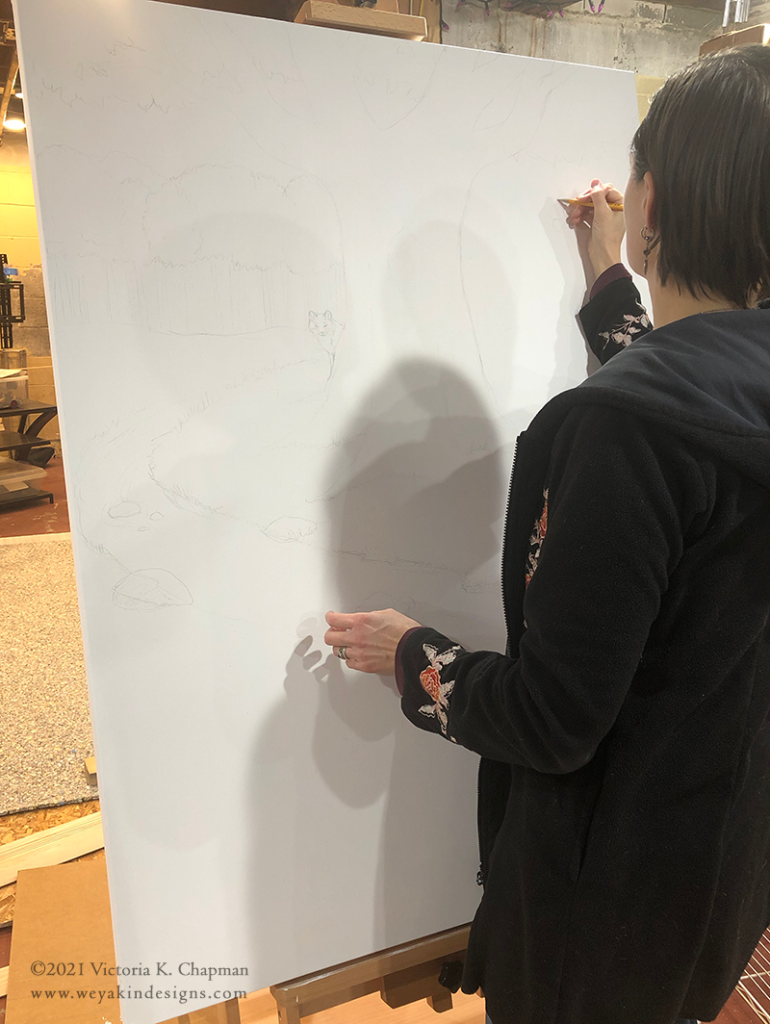
Once the sketch was approved, I moved forward with the final work on canvas. After prepping the canvas and adding white gesso as a base layer, I started by creating pencil outlines on the canvas to block out where all of the elements would be. Going from a 6”x9” drawing to a 36”x48” drawing can be challenging and I wanted to make sure everything was proportional and flowed together on the larger surface. I also penciled in all the family names so I knew I had a spot for each of them that worked with the length of the name. Once the outlines were complete, I took photos to use a reference for when I’d have to add the names back in with pen over the final painting. The names would disappear beneath the paint and I didn’t want to forget where they would be placed.
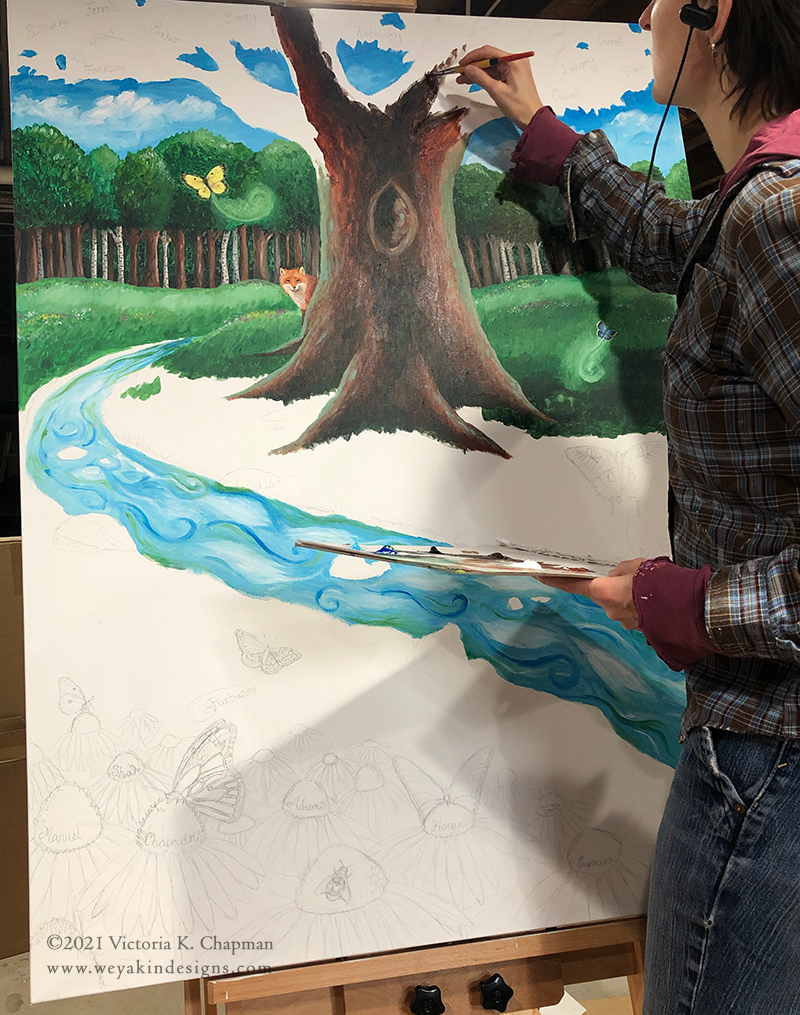
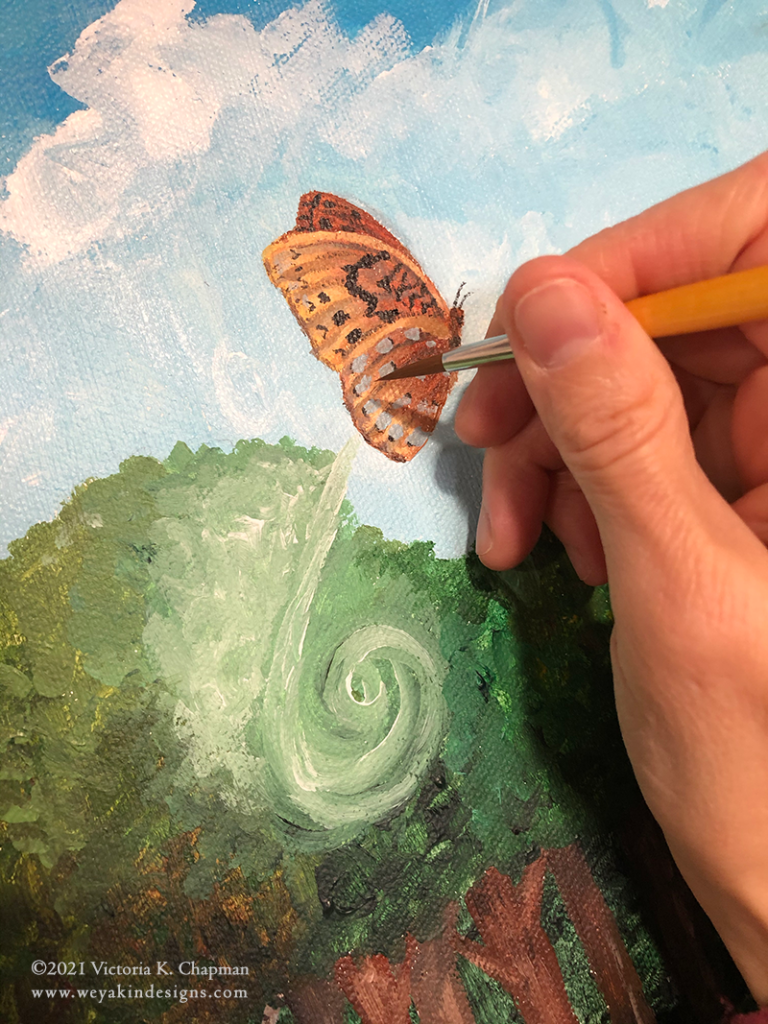
When I started the paint, I worked from back to front. This means I started with the elements that would be perceived as being in the background and added the foreground elements later. With this in mind, I started first with the sky and the tree line in the back. I found this way of working worked best for acrylics, since they are opaque and can easily be painted over. I layered the finer details over the background colors. The nice thing about acrylics is that they dry relatively quickly. My technique is quite different when I use watercolors, which are transparent.
The canvas I was working on had a gallery style profile, which means the thickness of the canvas off the wall is 1.5”. Because the piece wasn’t going to be framed, I made sure to paint all four of the canvas sides as well. Continuing the scenery around the sides, top, and bottom posed another interesting challenge that I don’t have to contend with when working in watercolors.
After I built up all the paint layers and completed the picture, it was time to add the names back in. I used a pencil to sketch in the names to make sure the lettering was even. Then, when all of the names were placed, the marker was added. I used fine tipped permanent felt markers in different colors to go with the piece of the background the name was on. If the names were in the grass or leaves, I used a dark green marker. If the names were in the water, I used a dark blue marker. To bring the names out just a little more from their backgrounds, I finished them off with a white gel pen to create a highlight around the lettering edges.
Once the names were placed and dry, I added some final touches. To bring a little bit more magic into the piece, I added iridescent medium to the water to give it a hint of shimmer. And to protect the whole piece, I coated the entire canvas in a layer of Gamvar matte varnish. Once completely dry, the hooks and hanging wire were added to the back and the entire piece was wrapped up in cardboard for safe delivery.
It was so exciting to deliver the final piece and unveil it in front of the staff who were there. The excitement and joy on everyone’s faces made the experience completely worth it. I hope this painting continues to bring joy to all of the staff, children, and families at Growing Room. It was an honor to create something beautiful that celebrates families and the joy of nature. I’m so excited to share this with a caring part of the community and I hope for similar opportunities to celebrate art and nature in the future.

