Art for the Holidays
It’s the time of year again—the weather gets chilly, the days get shorter, and everyone is scrambling to figure out what to get their loved ones for the holidays. This year, I plan to shop with artists and crafters as much as I can because I want to support all of the amazingly talented people I know and even those I don’t. Because our livelihood depends on amazing people believing in what we do and sharing it with others.
I’ve compiled a list (in alphabetical order) of some of my favorite artist friends who have shops ready for you to browse for your holiday shopping needs. Do you know some other great artists who have wares for sale? Please, leave a comment on this post! I’d love to see their work.
ArtMuffin
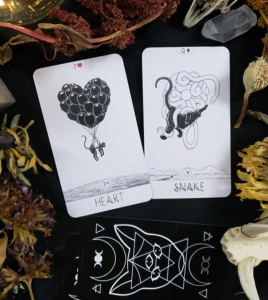
ArtMuffin is my long-time illustrator friend Christopher Gendron. His current body of work “reflects a fascination, fear, and attraction to alien worlds, sci-fi and horror movies, ancient writing and civilization, life, love and death, and the concept of open ended questions that infinitely unfold while we run around as shapeshifting creatures on a planet that we need to learn to respect in a universe we don’t understand”. So, if you’re into something a little odd and maybe creepy, check out his work! His prophecy and Tarot cards would make a fun stocking stuffer.
ArtMuffin on Store Envy: artmuffin.storenvy.com
ArtMuffin on Etsy: www.etsy.com/shop/artmuffin
Black Cat Oracle Cards: www.blackcatoraclecards.com
Planet COVID-19 Field Journal: www.covidfieldjournal.com
Pages from the Book of Gosh: artmuffin.myportfolio.com
ArtMuffin on Facebook: www.facebook.com/artmuffinstudio
ArtMuffin on Instagram: www.instagram.com/artmuffin_studio
Indigo Wild Design Co.
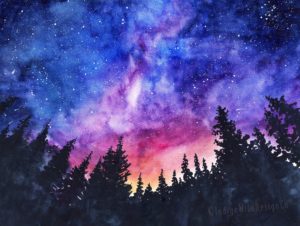
Indigo Wild Design Co. is artist Brittany Drollinger. A fellow nature artist and mom, Brittany’s art is something I fell in love with the first time I saw it. Her watercolor paintings are inspired by the beauty and wonder of the earth, from wilderness to wildlife. She says, “I hope my work can help us reconnect and foster a kinship with nature.” You can buy art prints and cards from Indigo Wild Design Co. on Etsy.
Indigo Wild Design Co. on Esty: www.etsy.com/shop/indigowilddesignco
KnittyVet
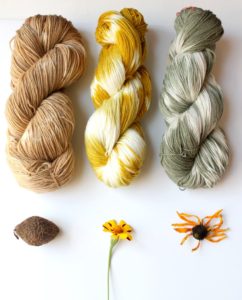
KnittyVet is my friend Kendra, who occasionally has been mistaken for my sister. Kendra grows, harvests, and prepares plant sources of dye that have been used by natural dyers stretching back hundreds and thousands of years. She uses these magical sources of color on USA grown wool to make one-of-a-kind skeins of yarn and offering dye supplies and seeds to other artists. Her ultimate goal is to create a closed loop of locally grown, sheared, processed and dyed wool; thereby strengthening and giving back to the local community! If you’re a fiber artist or know one, Kendra’s shop is a place to check out for sure.
KnittyVet Website: KnittVet.com
KnittyVet on Etsy: www.etsy.com/shop/knittyvet
KnittyVet on Instagram: https://www.instagram.com/knittyvet
Martha Hull, Cute & Deadly Art
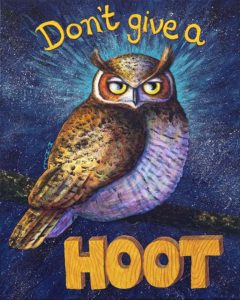
Martha Hull likes to make pretty, twisted pictures which make people laugh. She draws and paints compelling “cute and deadly” artworks featuring large-eyed characters, particularly cats, skeletons, and food with faces. Martha’s imagined worlds are full of stories, and she would like to share them with you. Martha’s holiday cards are fantastic for sharing with your friends who have a sense of humor. I’m particularly in love with Martha’s “Don’t Give a HOOT” owl painting!
See art and shop: MarthaHull.com
Moon and Sundries
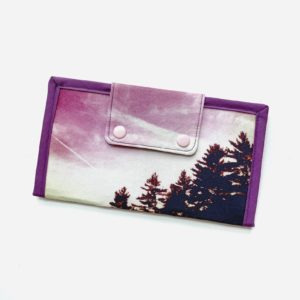
Moon and Sundries is my friend Karen Ducey. Karen creates handmade gifts and accessories for the delightfully eclectic. Some products she makes that I particularly adore are her wallets and clutches. They are super high-quality, have all the right pockets and storage, and always come in fun fabrics. But, you can also buy masks, ornaments, purses, and more!
Moon and Sundries on Etsy: www.etsy.com/shop/moonandsundries
Sieber Designs
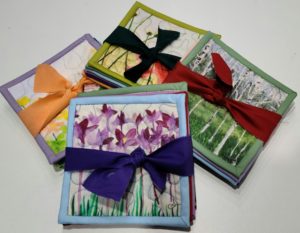
Aviva Sieber of SieberDesigns makes functional fiber art ranging from organizational items, to bags and purses, and home decor. Currently, Aviva is working on a collaboration with her husband Mark using his watercolor paintings and transforming them into fabric. She is then using that fabric in her fiber art designs. I can personally say, her work is amazingly high-quality and beautiful. If you’re looking for stock-stuffers, check out her bookmarks and coasters!
Aviva is also holding a sale, November 22-December 5th, 2021. Use coupon code HOLIDAY21 to get 15% off $35 or more!
Sieber Designs on Etsy: www.etsy.com/shop/sieberdesigns
Silvan Arts
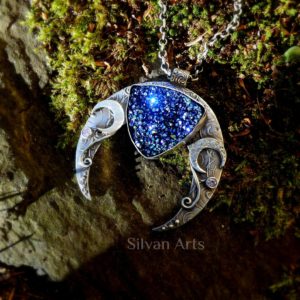
Silvan Arts is my long-time good friend Anne Marie Bottcher. She creates amazing and whimsical fine silver jewelry inspired by nature and faeries. Much of her jewelry features beautiful leaves of an elven quality or Celtic patterns and a variety of gemstones. Her lovely work can be purchased in the form of earrings, necklaces, rings, and silk wrap bracelets. I personally own a lot of pieces from Anne Marie, and I still want more! I especially love her creative custom pieces. And I get compliments every time I wear her jewelry.
Silvan Arts on Etsy: www.etsy.com/shop/silvanarts/
Sullivan Art
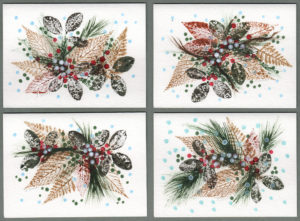
Stephanie Sullivan is an artist friend of mine who lives in southern Vermont. A woman after my own heart, she creates artwork and handmade cards inspired by the wonder of nature. A portion of her sales support her work in habitat conservation and stewardship—a worthy cause! She says about her work, “By sharing my love for nature I hope to inspire more people to actively and thoughtfully protect the natural world.”
Sullivan Art Website: SullivanArt.net
Sweet Enemy Art
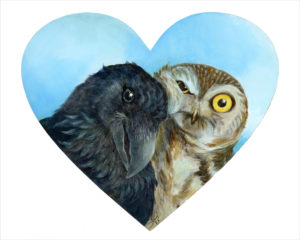
Sweet Enemy Art is artist Kristin Richland from Vermont. She creates paintings and drawings of creatures for those who enjoy their animals with a mysterious and whimsical outlook! Kristin sells originals, prints, stickers, cards, and even has advent calendars and books. Her owls and rabbits are especially fun.
See art and shop: KirstinRichland.com
Wee Things Fiber Arts
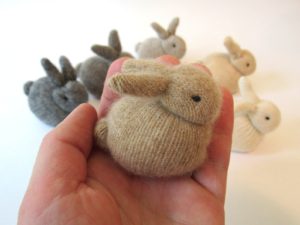
Wee Things Fiber Arts creates delightful handmade soft toys made with eco-friendly plant-dyed wool and up-cycled sweater fabrics. These beautiful toys are made by Western Massachusetts artist Rachel Beaupre, who was inspired by her own children and their curiosity and imaginations. Rachel also creates sewing kits and patterns which are fun for the aspiring crafter. My youngest son loves his little bunny toy and baby doll from Wee Things Fiber Arts! These toys are high-quality, so soft, and some are small enough to make great stocking stuffers.
Wee Things Fiber Arts Website: Wee-Things.com
Wee Things Fiber Arts on Etsy: www.etsy.com/shop/WeeThingsFiberArts
Wee Things Fiber Arts on Facebook: www.facebook.com/WeeThingsFiberArts
Wee Things Fiber Arts on Instagram: www.instagram.com/weethingsfiberarts
Whimsical Whiskers
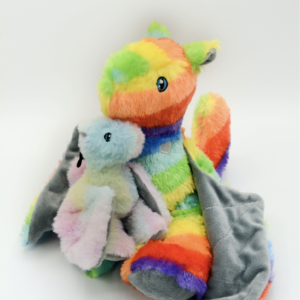
Whimsical Whiskers critters are designed by artist Brenna Deutchman. She designs and creates unique snuggly, cuddly, friendly, adorable plush stuffed animals. Each animal is a certified Dream Guardian — defender from nightmares, keeper of secrets, soother of anxiety, and reminder of self worth. The dragons, dragon foxes and dragon bunnies are here to remind you how special and wonderful you are. My son loves his Prism rainbow dragon and mini dragon fox! But, these cuddly friends are great gifts for people of all ages.
Whimsical Whiskers Website: WhimsiWhiskers.com
Whimsical Whiskers on Etsy: www.etsy.com/shop/whimsicalwhiskersllc
Whimsical Whiskers on Facebook: www.facebook.com/whimsiwhiskers
Weyakin Designs
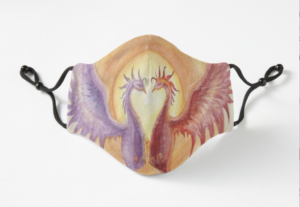
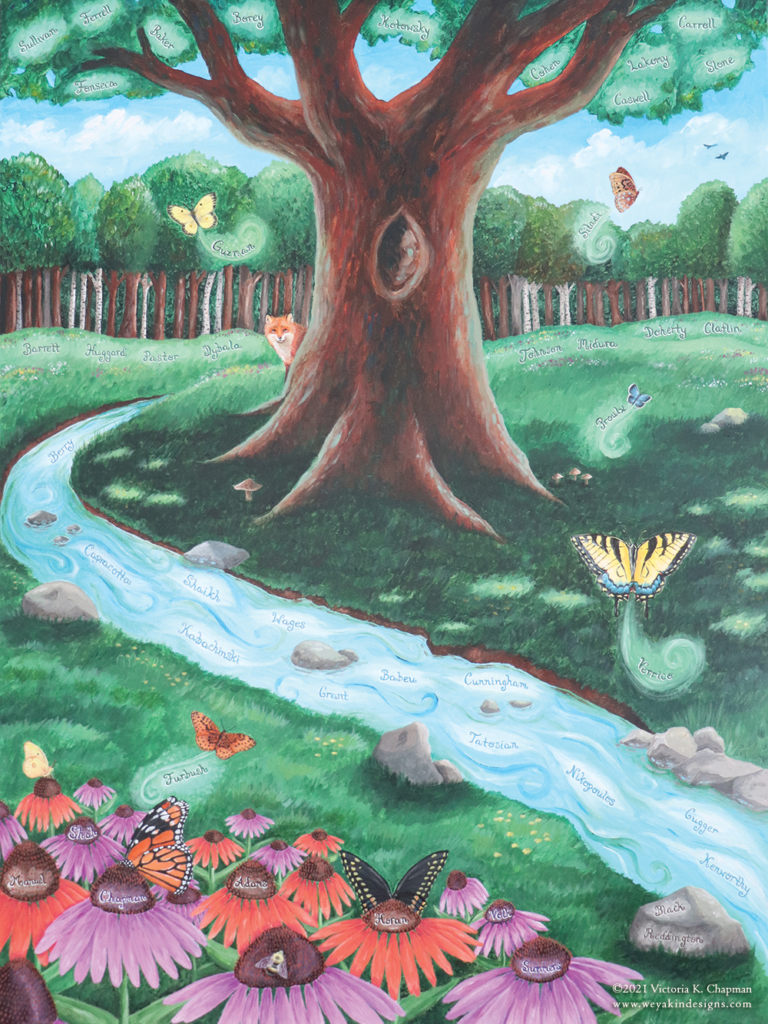
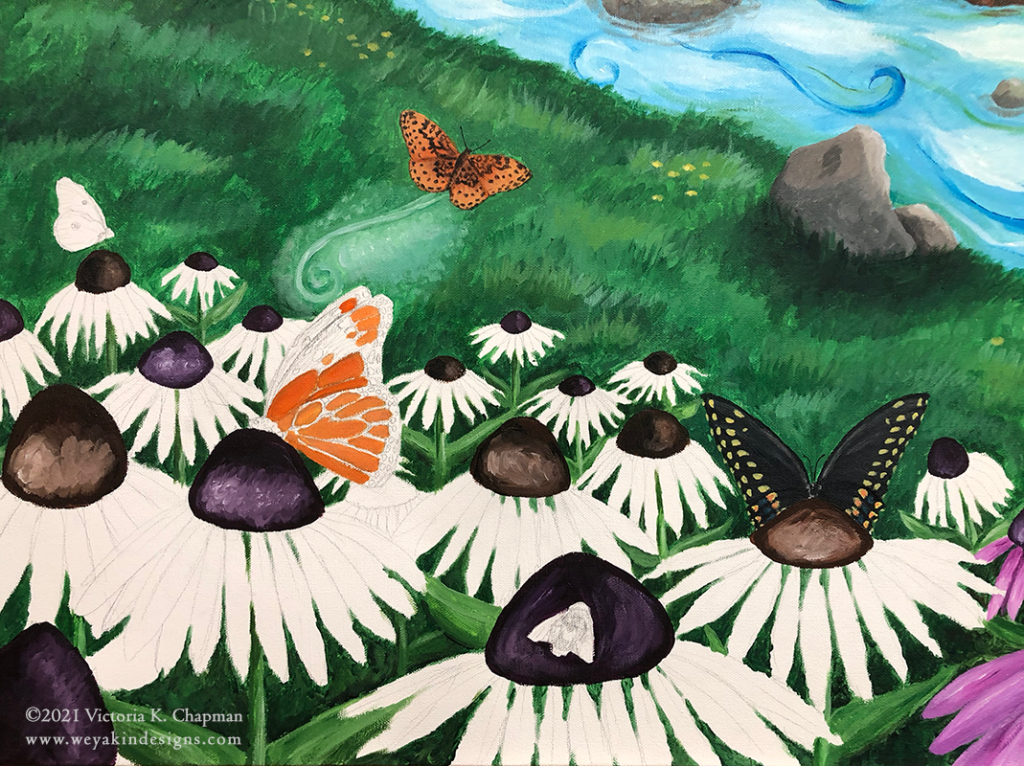
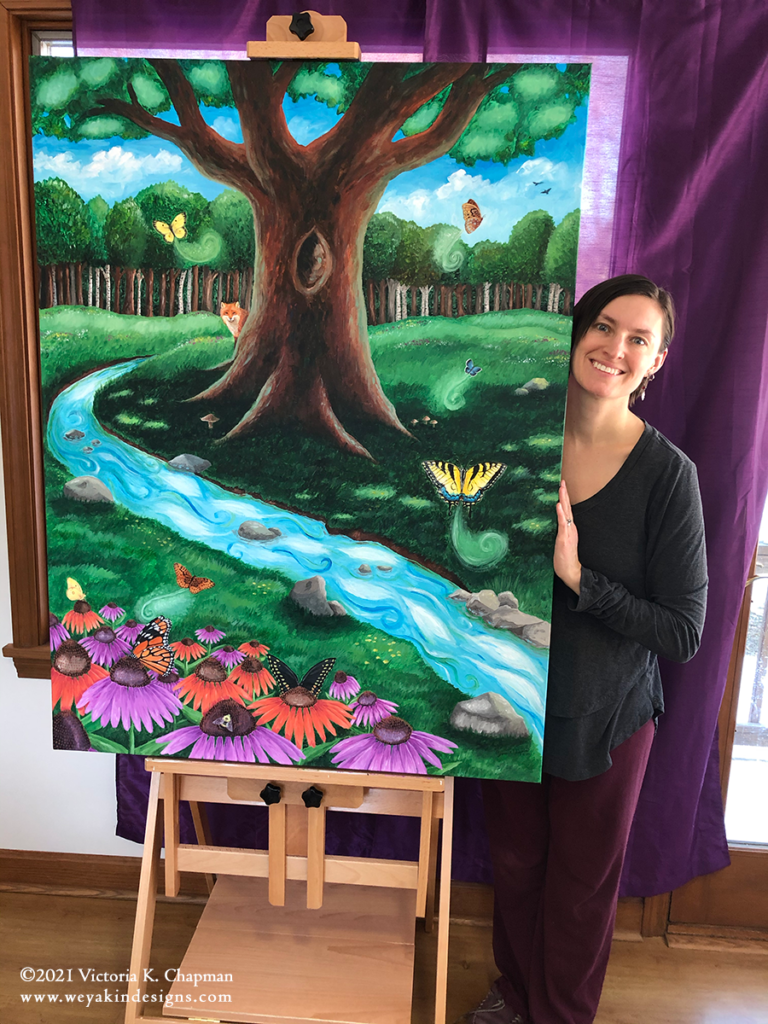
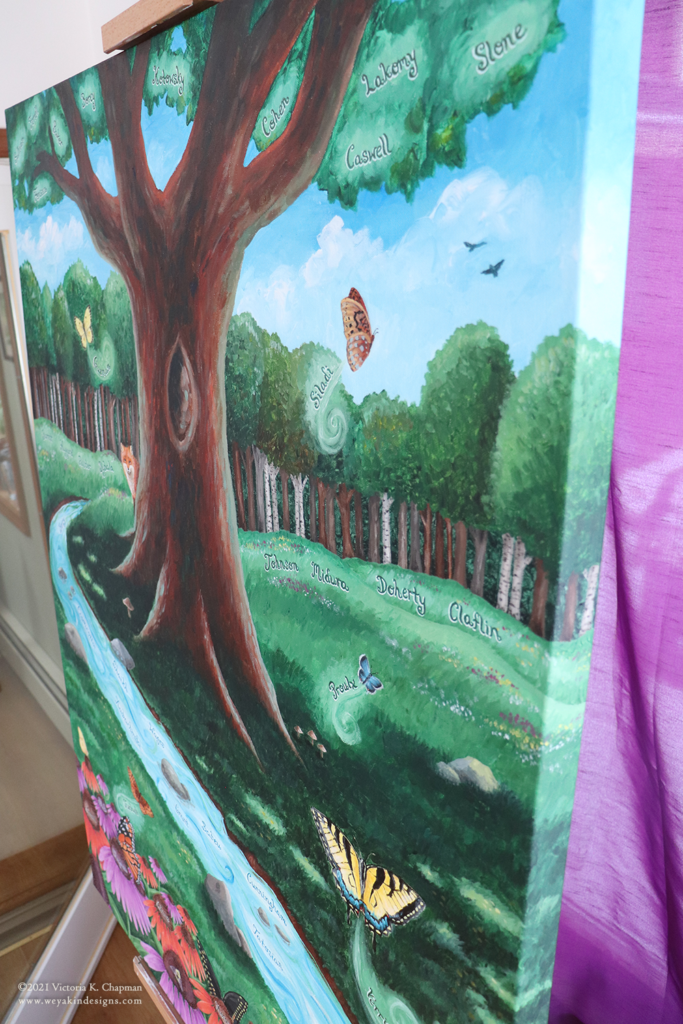
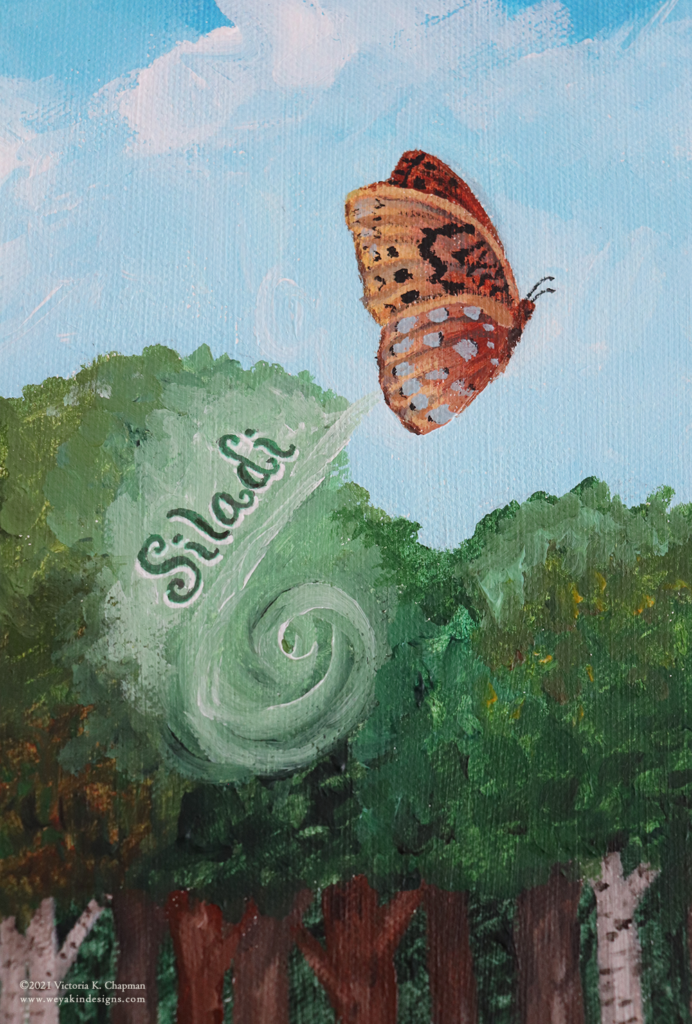
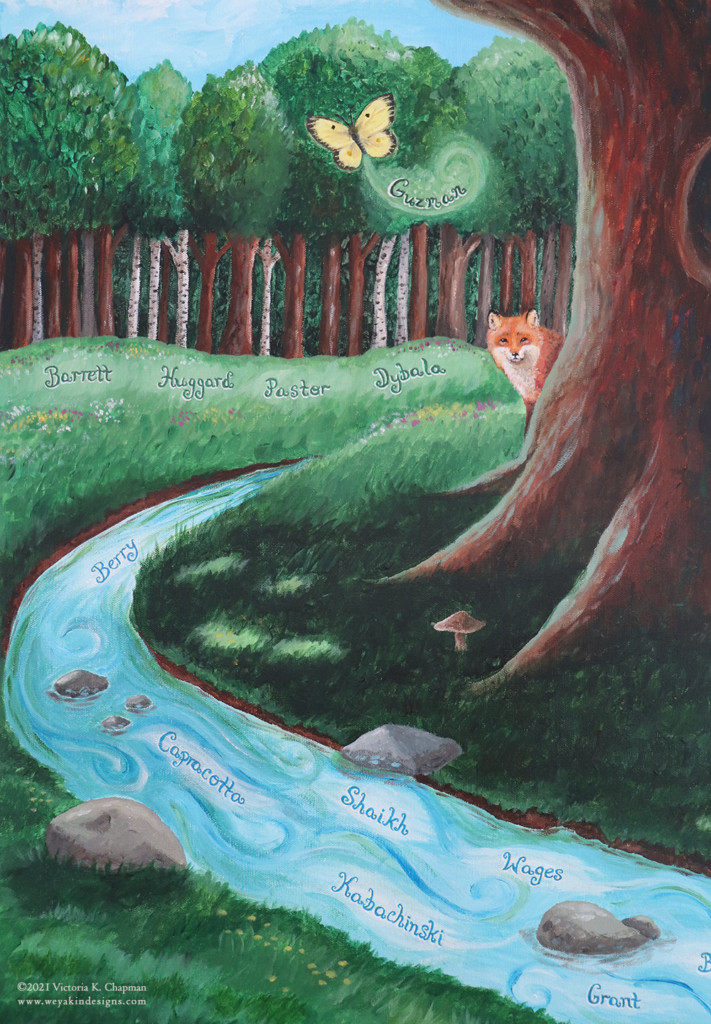
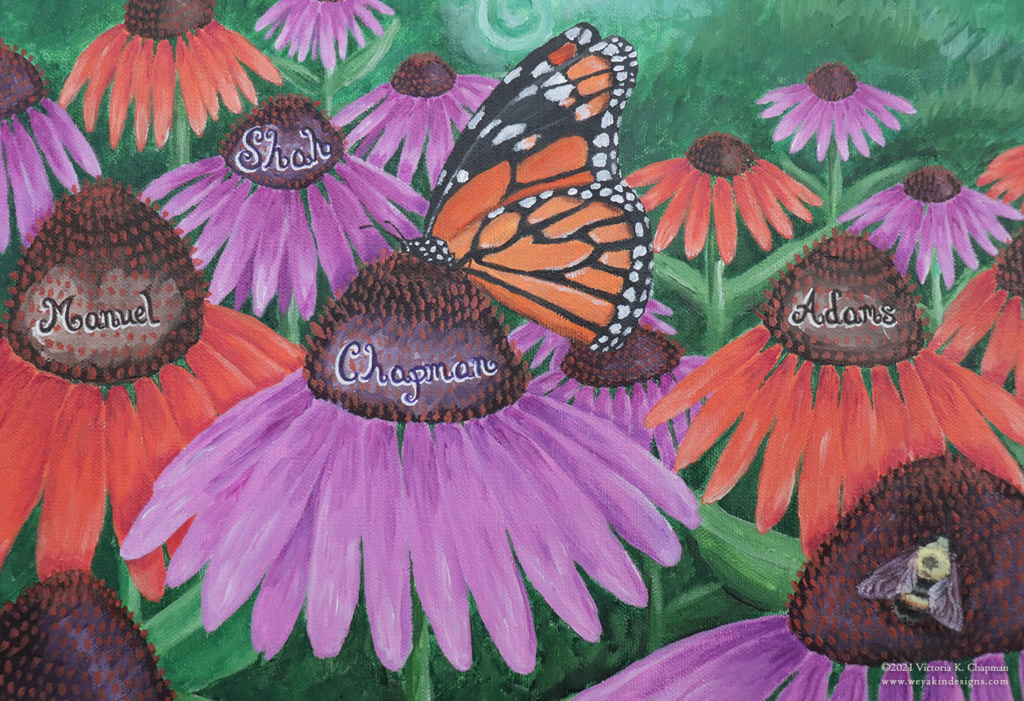
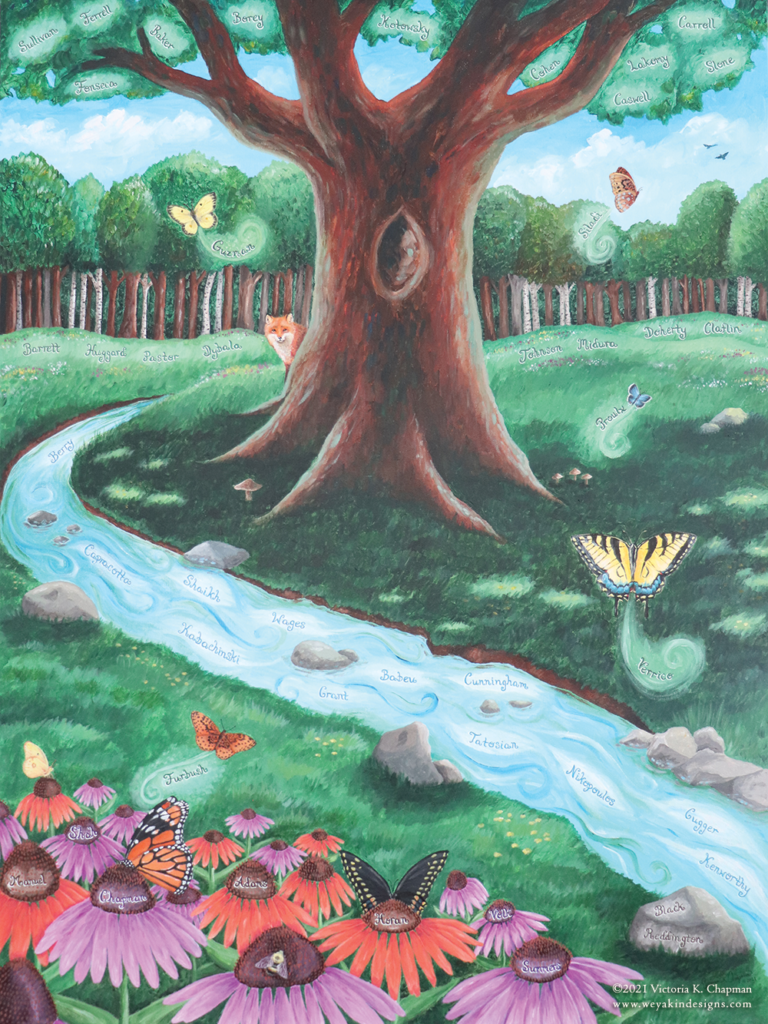
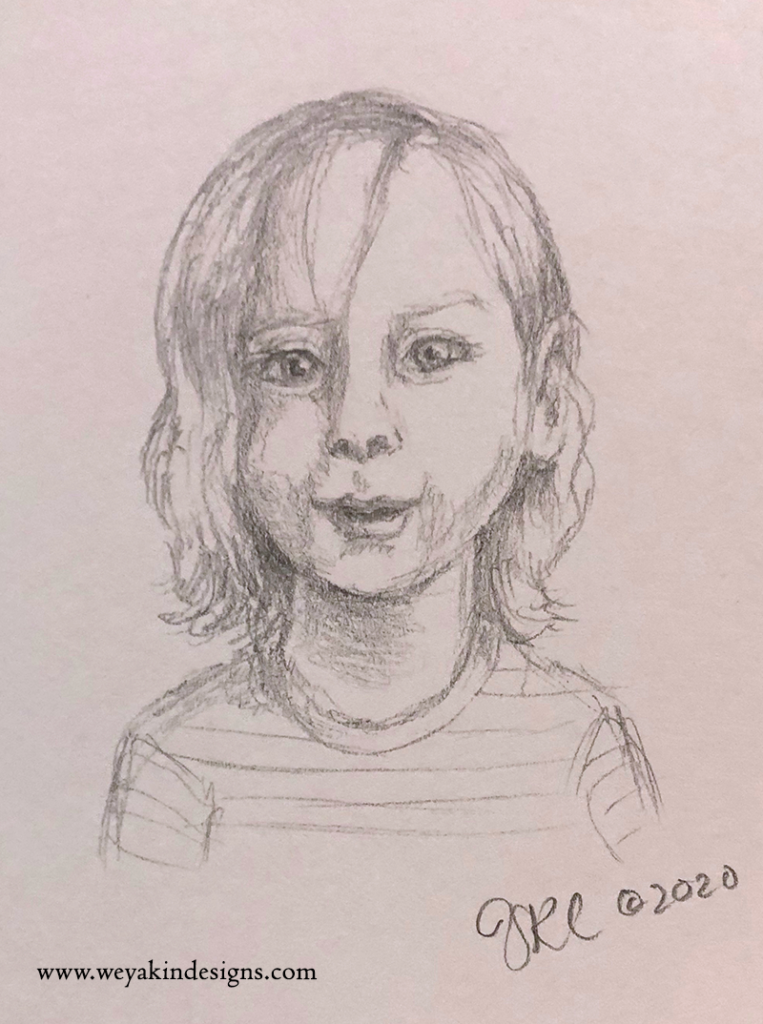
Of course, you know me! I’m Victoria K. Chapman, the artist of Weyakin Designs. I create whimsical art, illustration, and stories of nature and spirit. Now through November 30th, I’ll be offering 15% off on weyakindesigns.com orders with code HAPPYHAPPY21.
Shop right here on Weyakin Designs: www.weyakindesigns.com/buy-art
Shop on Etsy: www.etsy.com/shop/weyakin
Buy art on products printed by RedBubble: www.redbubble.com/people/weyakin/shop
